Water Restricted Washing
Tools you will need:
* two 5 gallon clean buckets * Zymol wash sponge * 2oz. (Zymol Clear/Auto Wash) not detergent * Zymol Synthetic Chamois * 2 clean Zymol Microwipes
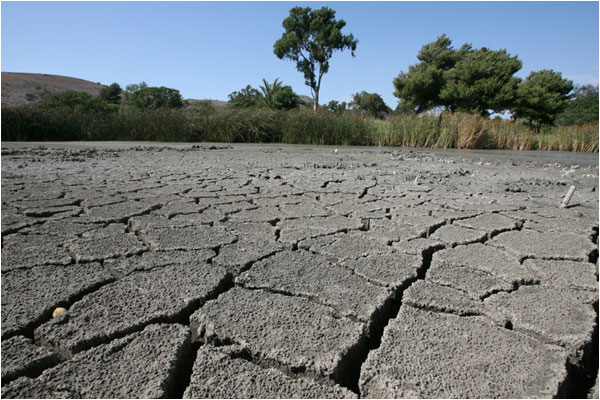
Some areas like the US Southwest have severe water shortages which require conservation of scarce water resources. Overpopulation and illegal immigration has harmed the natural environment is some regions. Here's how to keep your car clean while doing your part to help.
The most important thing to be aware of when preparing to wash your car is the temperature of the area being washed. This is even more important than the ambient temperature, which should be ideally be between 50° and 80°F . If the car has been in the sun for any time, it should be brought into the shade and allowed to cool off before dousing it with water.
In addition, on recently driven cars, the brakes will be very hot, and if cold water gets onto the brake discs, they could warp. So get your car out of the garage and onto a flat, paved surface that is out of direct sunlight. Sunlight, as you know, turns drops of water into tiny lenses, burning the paint under them.
There are times when it is desirable to use the minimum of water to wash a vehicle. This could happen if your region is having a water shortage, or if your vehicle is too delicate to stand being drenched with a hose or if wind or low humidity is causing the vehicle to dry off before you can do it completely. In these cases, you can use this technique to wash it using twenty gallons or less of water.
Many classics cannot be washed using normal methods either. These rolling works of art spend most of their time in closed garages under covers and are not used often enough to need washing. They do collect dust, fingerprints, smudges and fallout however, and need occasional 'field' washing as well.
Our two-bucket system provides added protection for your car's finish.
5 gallon buckets can often be obtained for free from a commercial bakery or restaurant kitchen. They originally may have contained frosting or other food items.
Use one bucket filled with the normal warm water/soap solution. The other bucket should be filled with plain warm water. This is used to rinse out the sponge and wring it out before placing it in the wash solution bucket. It keeps the wash solution cleaner, since you are not putting the dirt from the car into the fresh washing solution.
Rinse off, using a sponge filled with water, only the area you intend to wash.
Start the washing process by filling your 'soap' bucket with 2oz. of car wash 'soap' and 5 gallons of cool water. Do not use cold water in summer or hot water in winter as the sudden temperature shock will damage your car's finish.
Drop your sponge into the water for later use and begin rinsing the car from top to bottom with the sponge from your second 'rinse' bucket. Use a light pressure. During this first process do not rinse or wash below the midline (belt line) of your car.
Using the soap soaked sponge, apply a heavy coating of soap suds (by squeezing the sponge) to a small area of the roof you can easily reach without moving your feet and lightly wipe the panels with your bare hand as you move the soap around. This assures you that there is no sand or dirt stuck to the car's surface that might be unknowingly picked up later by your sponge or towel.
Start the actual washing by using the soap filled sponge on the section you just 'hand washed' of the roof, and then sponge rinse that section of your car.
Now, rinse out your soap sponge! This sponge rinsing should take place every time you wash anything on the car. This constant rinsing keeps the collected dirt and sand out of your soapy wash water.
Finish the other side of the roof, and then wash all the windows, lifting the wipers and working all the way down to the cowl. Remember to keep sponge rinsing.
After the roof, then work on the hood. Washing one side, rinsing your sponge then wash the other side and rinse the sponge again. Follow up with doing the trunk the same way.
After this is complete, work the entire upper portion of one side of your car, one panel at a time. Now is a good idea to empty the soap and rinse buckets after you finish with the horizontal and upper vertical surfaces, then start with fresh soap and rinse water for the lower sides. Please, use a drain; don't just dump the soapy water onto the ground. Even though Zymol products are environmentally safe, the dirt you remove from the car often is not.
Finish the wash sequence with the lower portions, including bumpers, grille and taillights. If this is the first time the car will receive the zymöl treatment, remove the license plates and the brackets to be sure the areas behind them will be properly prepared.
Use a wet Zymol Synthetic Chamois to push water off of the car.
DO NOT USE THE CHAMOIS TO DRY THE CAR.
Chamois will remove wax and possibly scratch your car if used when almost dry and with a high amount of friction.
Next, gently dry your car using 100% un-sized Zymol cotton towels or non-polyester Microwipes being sure to open the hood, trunk and all doors to dry up collected water in body drainage areas, door jams and sills.
This two-bucket paint wash process is more work but your car will clean easier and look better.